MOLD REMEDIATION
The goal of mold remediation sounds simple – remove the mold. Yet, this is surprisingly complicated in practice. Mold is ubiquitous. Even in the cleanest homes, mold spores are everywhere. The goal cannot be to remove all the mold. Short of a clean room in a hospital, this would be impossible. And it would be pointless as well. Within hours of completing the project, mold spores would quickly float back in from the surrounding area.+
CASE STUDY 1. Saved client $4,900
The Story
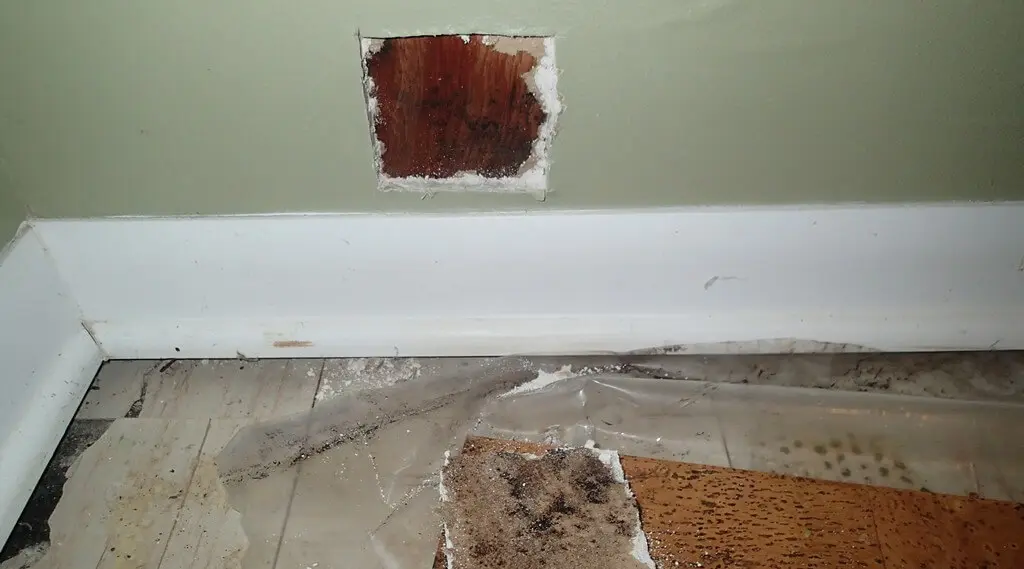
The client discovered a water intrusion in the basement bedroom. The cork and vinyl flooring showed signs of water damage. Environix was called in to investigate the extent of the damage and propose a solution. The client had received a bid for $6,000 to remediate the damage. Our bid? $1,088.
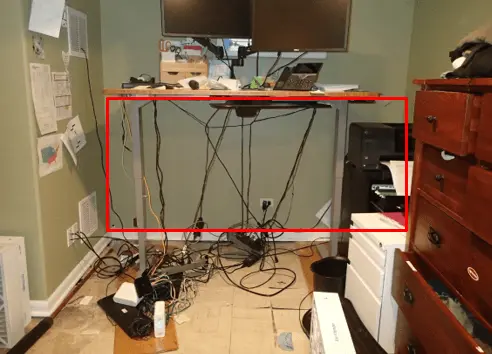
Why the discrepancy? The other contractor’s bid required removing the contents of the entire basement, despite the fact the mold growth only affected one area. Our approach was very different. We built a containment zone the exact size of the damaged area. This allowed us to effectively remove and clean the damaged materials without cross contaminating the rest of the basement.
OUR 4 STEP MOLD REMEDIATION PROCESS
1.) CONTAIN THE AFFECTED AREA
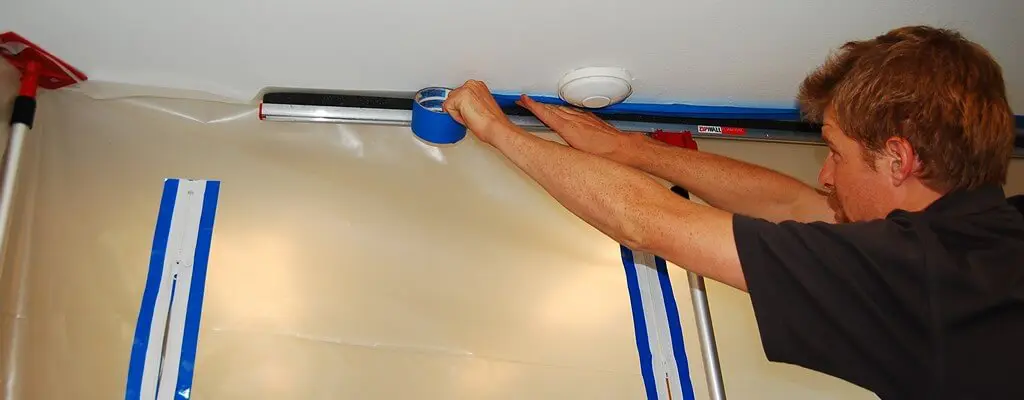
Containment is primarily used in mold remediation to limit the movement of mold spores. However, dust and debris from other demolition activities such as sheet rock removal are also important to isolate and remove. Containment is constructed with a combination of existing structures (walls, ceiling, etc.) and temporary materials (poly sheeting, adjustable poles, etc.)
Without proper containment, you’ll often actually increase the scope of damage by remediating the mold growth. Removing damaged materials such as sheetrock and carpeting disturbs enormous amounts of mold growth.
If proper containment isn’t in place, these spores will settle throughout the home, greatly increasing the scope of work. Containment typically consists of poly sheeting and HEPA scrubbers / negative air machines. These devices place the remediation zone under negative air pressure, which prevents mold spores, dust and other contaminants from spreading to adjacent areas of the building. This is the same technique used in asbestos abatement.
Without negative pressurization, the normal airflow patterns in a building will draw air out of the containment zone. This will occur even if the poly walls are well sealed to the walls. You simply cannot build containment tight enough to overcome the natural air currents. Negative air machines address this problem by constantly pulling air from the clean portion of the building into the dirty portion. Any imperfections in the containment are overcome by this negative air flow, effectively preventing cross contamination.
Air scrubbers provide an additional benefit by running the air through a HEPA filter. This prevents the machine from simply exhausting unwanted contaminants to another part of the building. It also allows us to run the scrubbers in recirculation mode. This is critical for situations when negative pressurization is unavailable (in the middle of a commercial building) or undesirable (pulling contamination from an adjacent area with its own issues).
2.) REMOVE DAMAGED MATERIALS
Before beginning a mold remediation project, we’ll work with you to decide which materials to dispose of and which can be salvaged. Some materials are quite obvious; if carpeting contains visible mold growth, it must be discarded. Others, like books, leather goods and family heirlooms often have a value beyond mere dollar figures. Thus, the true value of the object must be weighed against the expense of cleaning.
Examples of materials typically disposed of during mold remediation:
- Damaged carpet and padding
- Area rugs
- Soft items with visible mold such as clothing
- Books
- Stuffed animals, soft toys
- Base trim
Examples of materials often salvaged during remediation:
- Photos
- Non-upholstered furniture
- Framing, joists, rafters, etc.
- Sheetrock with light to moderate mold growth
- Electronic appliances and equipment
- Metal and hard plastic materials
- Tile flooring and shower surrounds
3.) CLEANING REMAINING CONTENTS & MATERIALS
Most mold remediation projects involve a significant amount of cleaning. In fact, the demolition / removal phase is often requires less time than the final cleaning. Imagine trying to dust a room, only the dust is invisible. While mold growth itself is certainly visible, the mold spores that settle throughout a remediation zone are not. This is why containment is so important.
HEPA Vacuuming
This is not your typical HEPA vacuum purchased at a local hardware store. Industrial grade HEPA vacuums are built with redundant seals to provide by-pass of air around the filter. While the HEPA vacuums at local stores technically come with a HEPA filter, the quality of the filter is rendered moot by the leaky construction of the overall vacuum. Once the incoming air reaches the constriction of the HEPA filter, it will simply take the path of least resistance and flow around it. Only industrial grade HEPA vacuums contain the necessary seals to prevent this air flow.
Damp Wiping
Damp wiping utilizes a light coating of moisture (mildicide) to limit the aerosolization of mold spores back into the air. This technique is appropriate for non-porous surfaces such as plastic, painted sheetrock, glass, etc.
Steam Cleaning
High pressure – high temperature water is useful for dislodging particulates from carpets and upholstered furniture. It can also be used to clean concrete and tile when combined with the appropriate attachments.
Encapsulating
After the surface growth and contamination is removed, a layer of staining often remains. This must be addressed or it will be very difficult to determine if a mold problem has returned.
4.) TEST & VERIFY
Because mold spores are invisible, it can be difficult to ascertain the success of a project with a visual inspection alone. While an area may appear clean, the air may contain high quantities of mold spores. Two techniques are utilized to verify the completion of a project. In unconditioned areas, such as attics and crawlspaces, air testing is inappropriate. Because these areas are connected to the outside air via the vents, an air test is of little value. In these areas a tape lift sample is preferred. When a surface has received an encapsulation coating, no tape lift sampling is necessary, as a visual inspection will readily prove the success or failure of the remediation.
Interior remediation projects can be evaluated with either a visual inspection or a visual inspection combined with mold testing (non-viable air sampling). The number of mold spores is compared to the outside control data to verify the levels have dropped to an appropriate level.


